Have you ever wondered how well your soil can stand up to the forces of nature, like rain and wind? The secret lies in its aggregate stability – the ability of soil particles to stick together and resist breakdown. Good soil structure, characterized by stable aggregates, is crucial for healthy plant growth, water infiltration, and preventing erosion.
You don’t need a fancy lab to get a good idea of your soil’s aggregate stability. There are many simple tests you can do right in your own garden or farm.
Why Soil Aggregate Stability Matters
Think of soil aggregates as tiny sponges. They create spaces for air and water to move through the soil, which is vital for root respiration and nutrient uptake. Stable aggregates also mean your soil is less likely to erode during heavy rainfall, keeping your precious topsoil where it belongs. Moreover, biologically active soil tends to have better water stability, indicating a thriving ecosystem beneath your feet.
The Simple Water Test: A Step-by-Step Guide
Here’s how you can easily test your soil’s aggregate stability:
- Collect Your Samples: Gather soil from the topsoil (the first 15 cm or so) and, if you’re curious, from the subsoil (around 15-30 cm deep). Label each sample clearly. Doing this in spring and autumn can help you track changes over time.
- Sieve It Gently: Using a 5mm and then a 3mm sieve, gently separate the soil. You’re looking for soil granules that fall between these two sizes.
- Prepare Your Tray: Get an ice cube tray or a similar container with small compartments. Place about 40 of your sieved soil granules into the compartments, making sure not to press them down.
- Add Water: Carefully fill the tray with water, ensuring the soil granules are submerged.
- Observe After One Minute: Let the tray sit undisturbed for one minute. Then, gently tap the container two or three times.
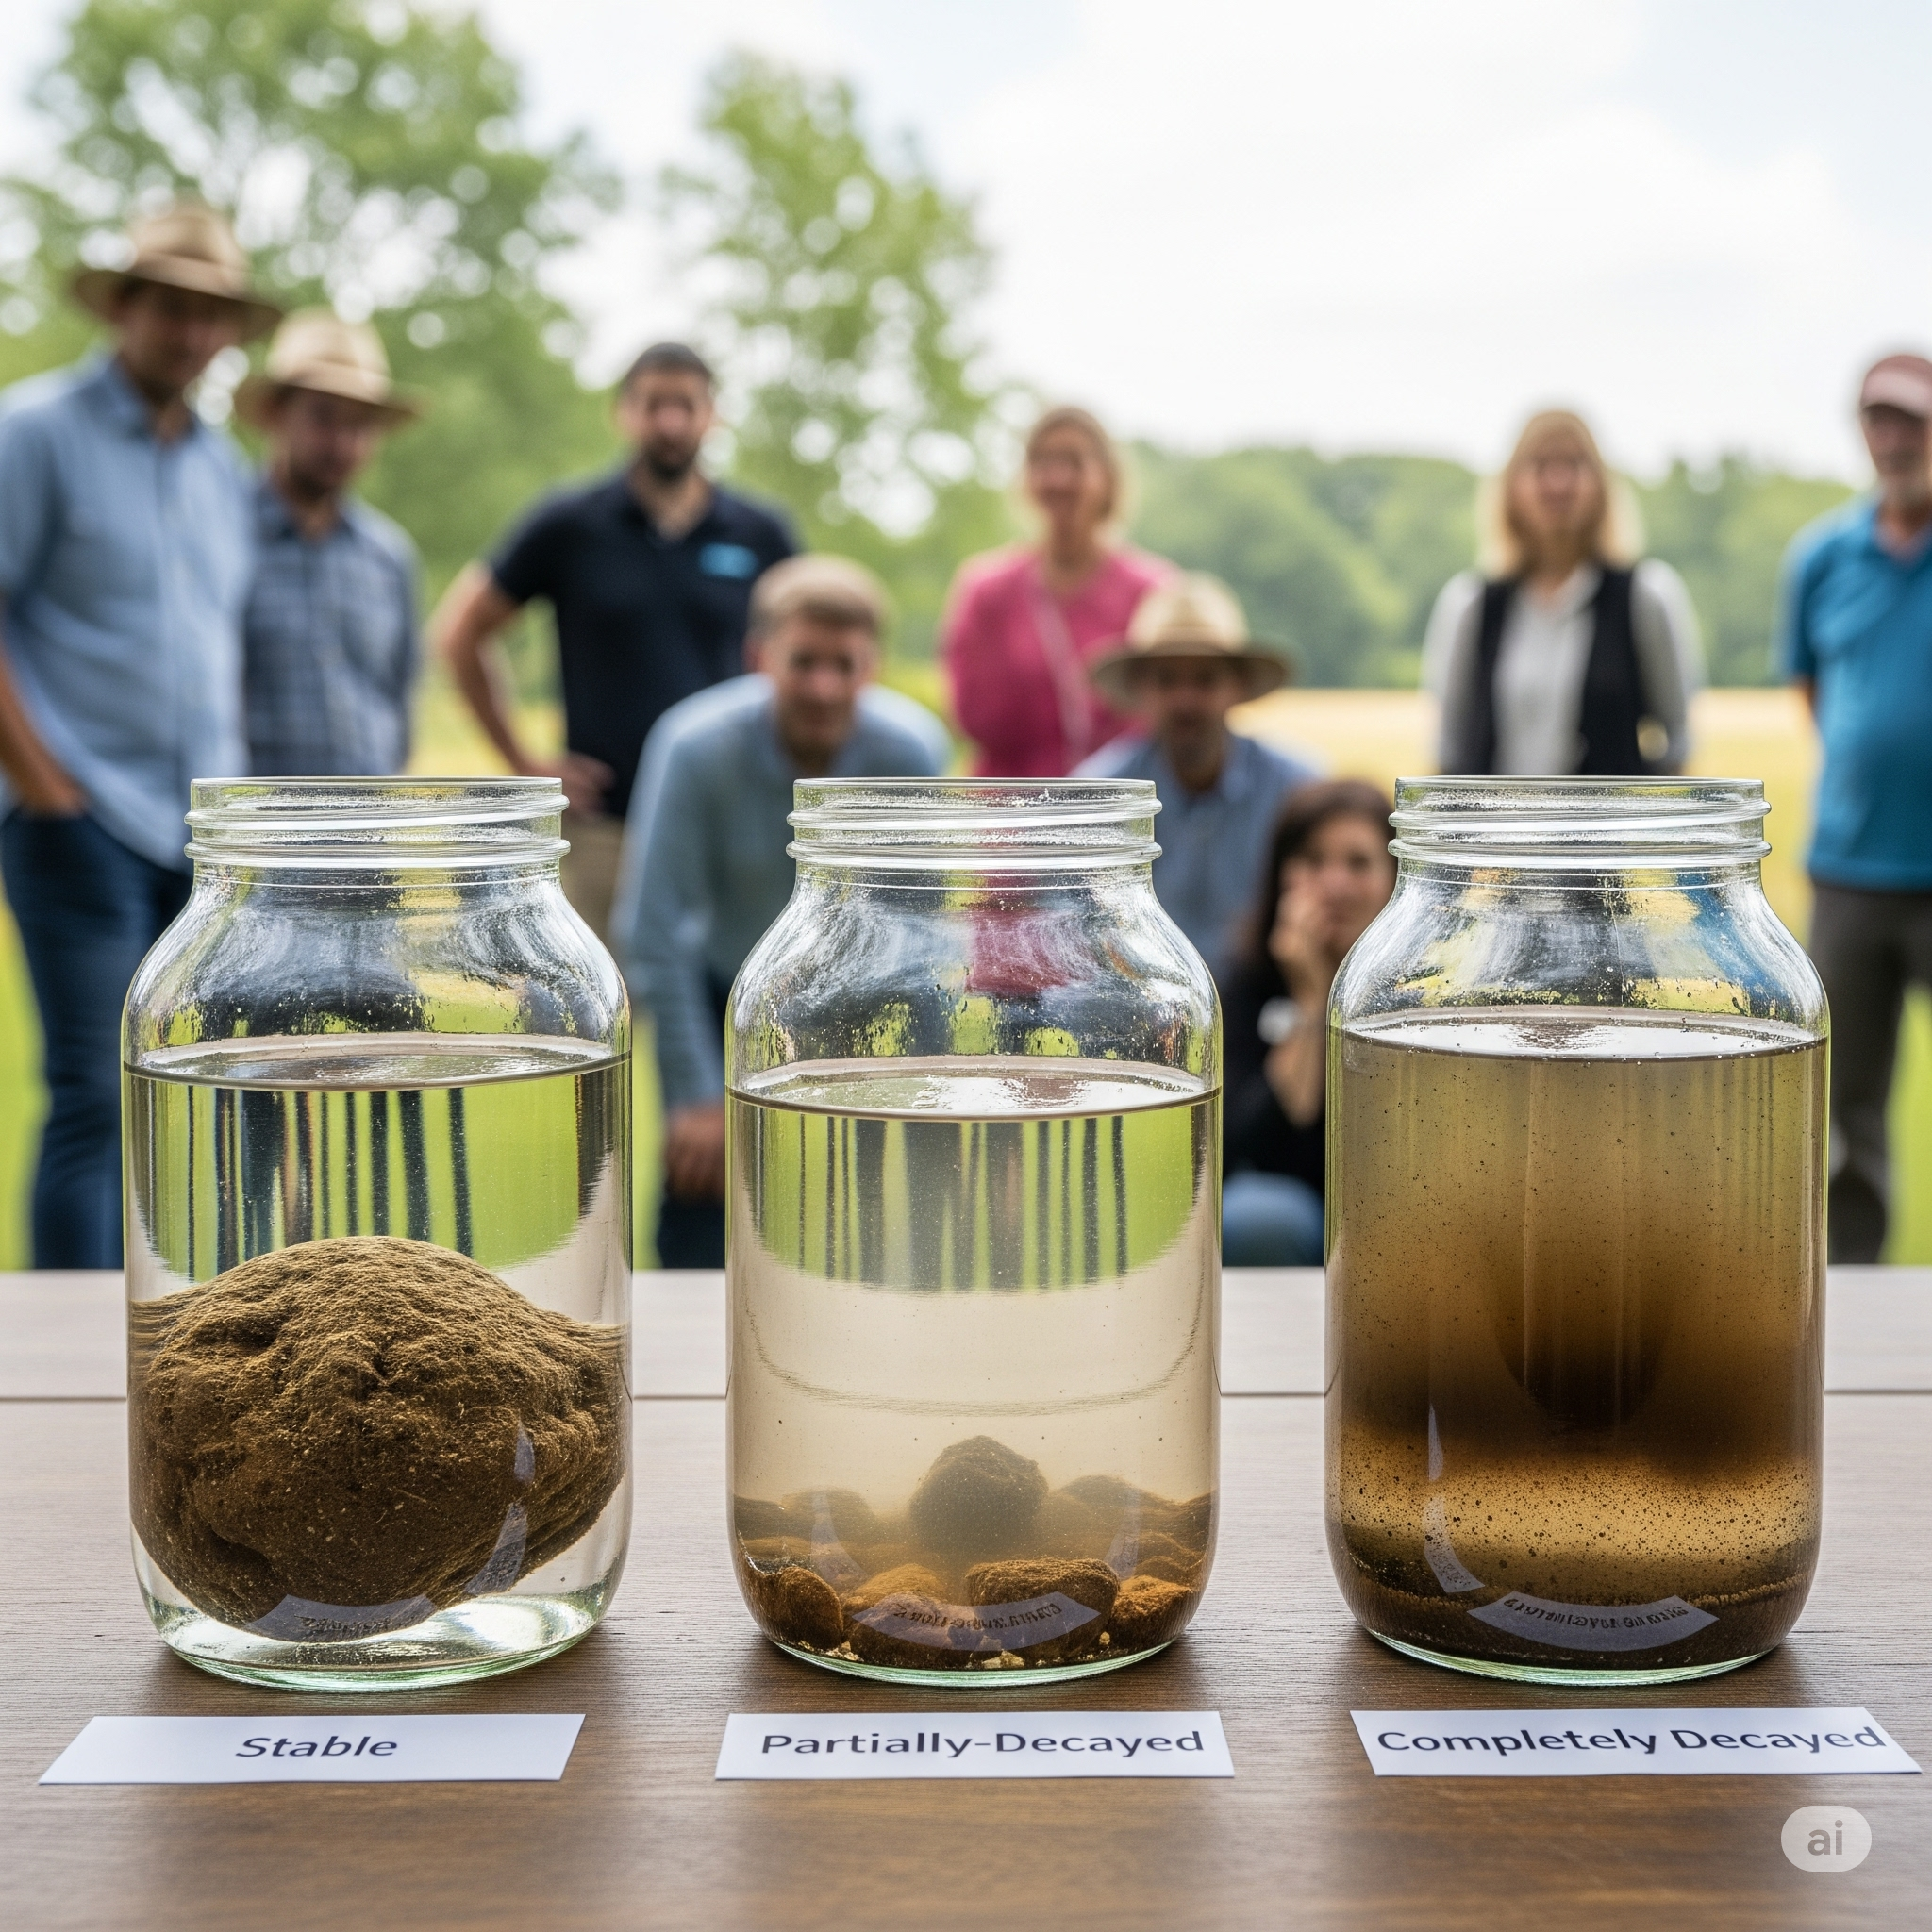
- Assess the Breakdown: Now, take a close look at what happened to the soil granules. You can categorize them as:
- Stable: The soil clumps remain largely intact, possibly breaking into a few larger, stable pieces. The water remains relatively clear.
- Partially Decayed: The soil breaks into smaller pieces, but still holds some structure. The water might become slightly cloudy.
- Completely Decayed: The soil dissolves almost entirely, often making the water quite cloudy with dispersed soil particles.
What the Results Tell You
If most of your soil aggregates remain stable, that’s a great sign! It indicates good soil health and resilience. However, if you see a lot of breakdown and cloudy water, it might be a signal that your soil structure could benefit from some attention.
Improving Soil Aggregate Stability
The good news is that there are many ways to improve soil aggregate stability, such as:
- Adding Organic Matter: Incorporating compost, manure, and cover crops feeds soil microbes that produce the “glue” that holds soil particles together.
- Minimizing Tillage: Excessive tilling can disrupt soil structure and break apart aggregates.
- Using Cover Crops: These protect the soil surface, add organic matter, and improve soil tilth.
- Practicing Crop Rotation: Different plants have different root systems that can help improve soil structure.
A Long-Term View
This simple test is most valuable when done regularly. By testing your soil aggregate stability a couple of times a year, you can monitor the impact of your soil management practices and see if your efforts to improve soil health are paying off.
So, why not give this easy test a try? It’s a fantastic way to get more in touch with your soil and understand its hidden strengths! Happy testing! 🌱
